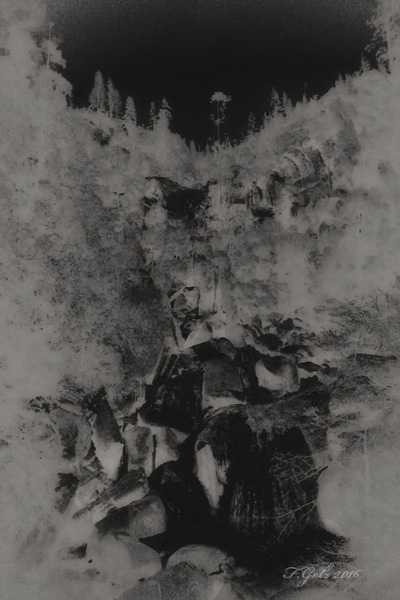
I created this image in Yosemite NP photographing the upper cascades from a bridge. Enjoy and keep on photographing!
Photos are meant to be shared
I created this image in Yosemite NP photographing the upper cascades from a bridge. Enjoy and keep on photographing!
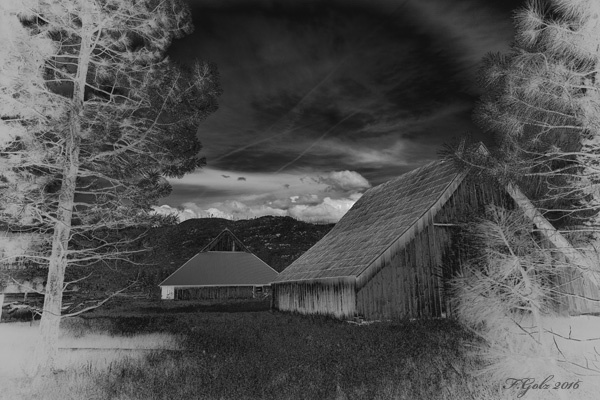
I shot this image about 1:00 pm in brought daylight. The two barns are located in Yosemite NP.
Enjoy and keep on photographing!

It is good practice to photograph with an infrared filter around high noon when the sun shines really bright. Wee, I was curious to see what kind of image I would get photographing before sunset. I created this image at a place called “tunnel vision” and indeed it looks like you are looking through a tunnel.
Enjoy and keep on photographing.
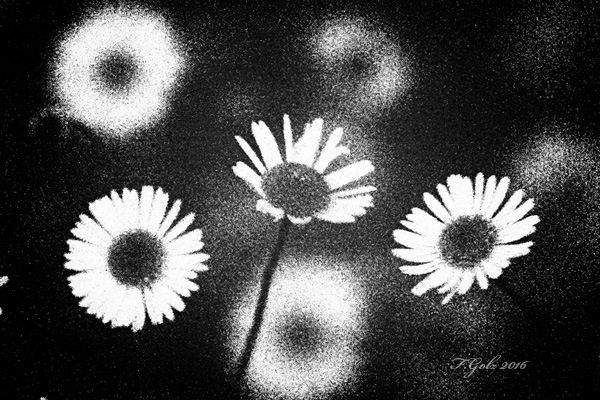
This image is shot at a very high ISO (20.000) setting. Of course there is some noise in the image. Actually, this is okay because if you shot infrared film there is also noise in the picture.
Enjoy and keep on experimenting with your images!
I challenge you to continue to work on your infrared images.
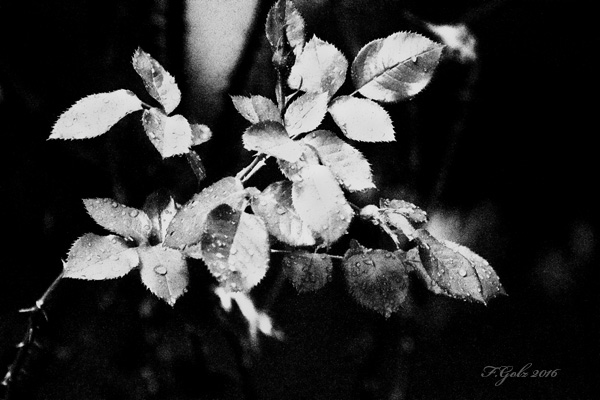
Right after the last rain storm I went out into my front yard and photographed this branch of my rose bush.
As always, enjoy this exercise!
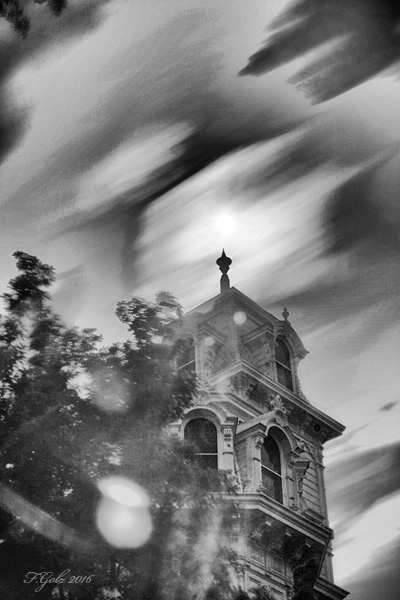
The best time to create infrared images is in brought daylight. In this image the sun was directly above the Governor’s Mansion in Sacramento, CA. As you can see the clouds were moving fast.
Enjoy and keep on working on your images!

I like the “soft” feeling of this infrared image of the California State Capitol in Sacramento, CA.
Enjoy and keep on working on your images!
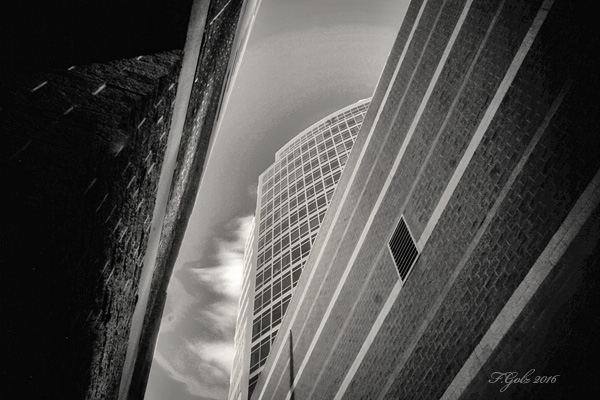
Infrared is known for dramatic skies and interesting foliage but what about buildings? I walked in between two tall buildings and decided to photograph pretty much straight into the skies. Interestingly there was a cloud moving through the image during my two minute or so exposure time.
Enjoy and keep on photographing!
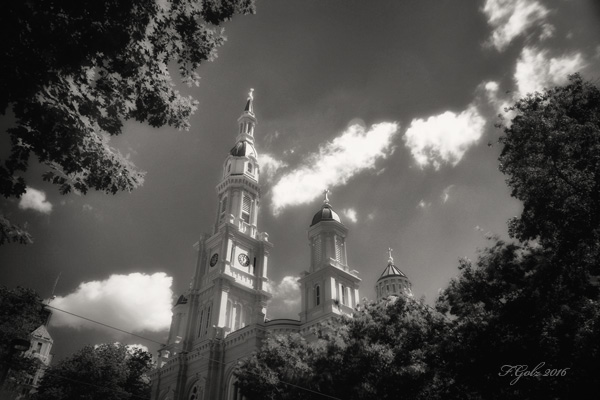
This is the downtown cathedral in Sacramento, CA. Enjoy and keep on photographing!
This week I have a special challenge for you. I ask you to purchase an infrared filter or if you have multiple camera bodies, have one converted to infrared and start taking images. If you use the filter you will get an image like this one.
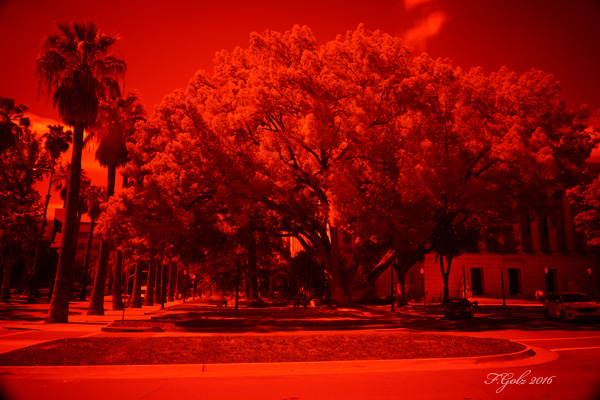
Don’t worry, this is normal. Now you have to convert it to monochrome and take the red cast out. Look on youtube.com or use other resources to see how it can be done. Go to https://www.youtube.com/watch?v=zMP3C3y8o_E for how to take infrared images using a filter and go to https://www.youtube.com/watch?v=R3zR2ceOZWU how to edit your images.
Of course, there are other ways to edit your infrared images. I prefer tinkering with the channel mixer in Photoshop. My preferred setting is
Red Channel: Red 0, Green 0, Blue 100
Blue Channel: Red 100, Green 100, Blue 100
Green Channel: Red 0, Green 0, Blue 100
This exercise is a lot of fun and you can learn a lot practicing infrared photography. Here is my final image!

Enjoy and keep on photographing!